This post is brought to you by Plaid Fabric Creations™ and Blueprint Social. All opinions are 100% my own.
Happy Friday everyone!
Summer is officially in full gear for us here! This means every possible spare minute I have is spent outdoors (if it’s not raining.) And that translates to lots of cooking out and delicious meals enjoyed in our backyard instead of heating up our house.
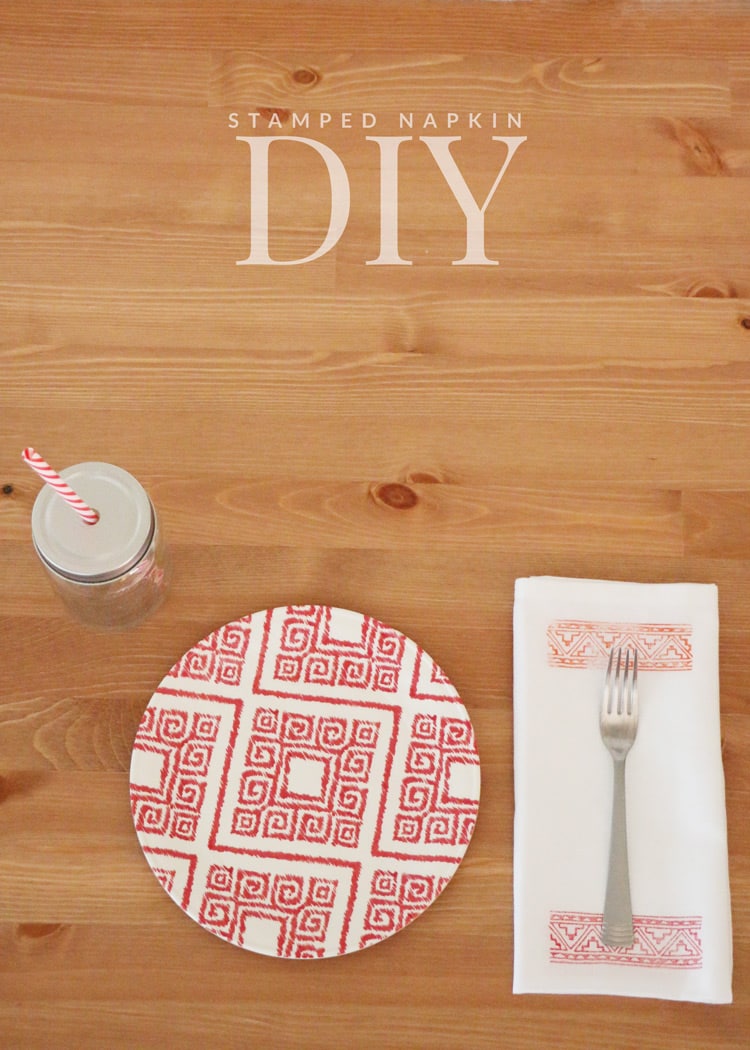
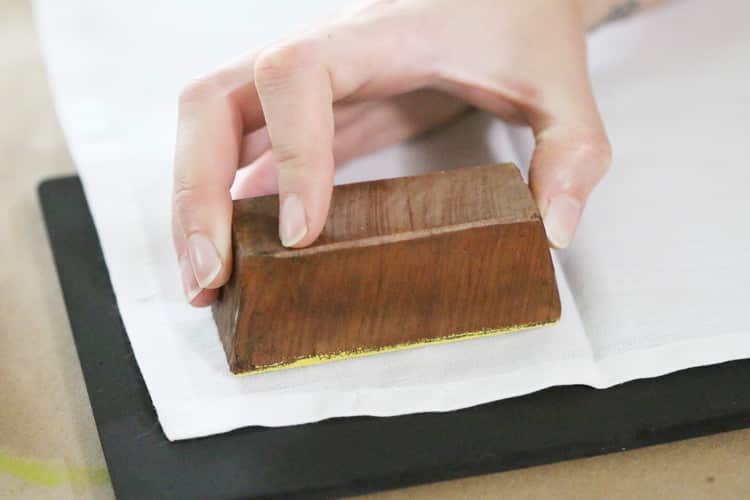
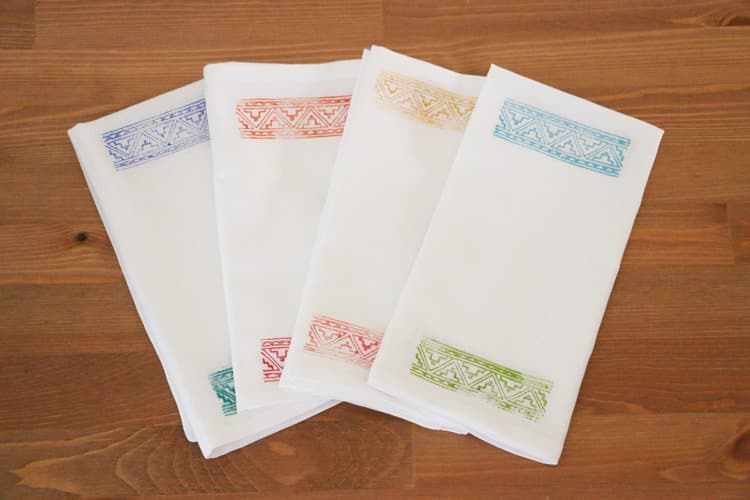
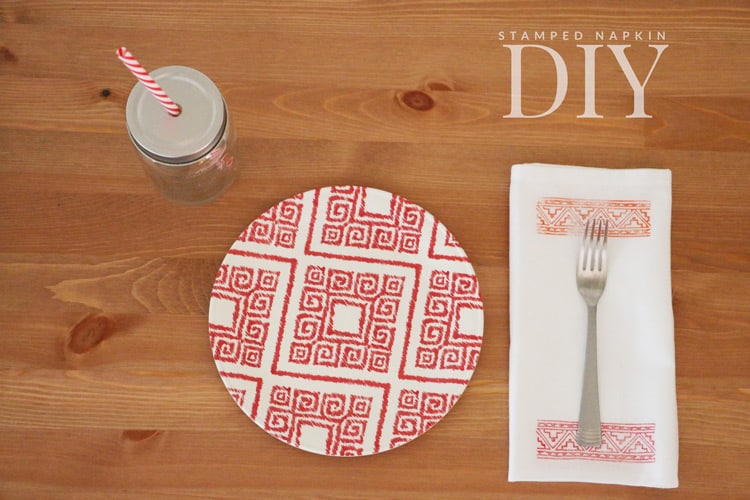
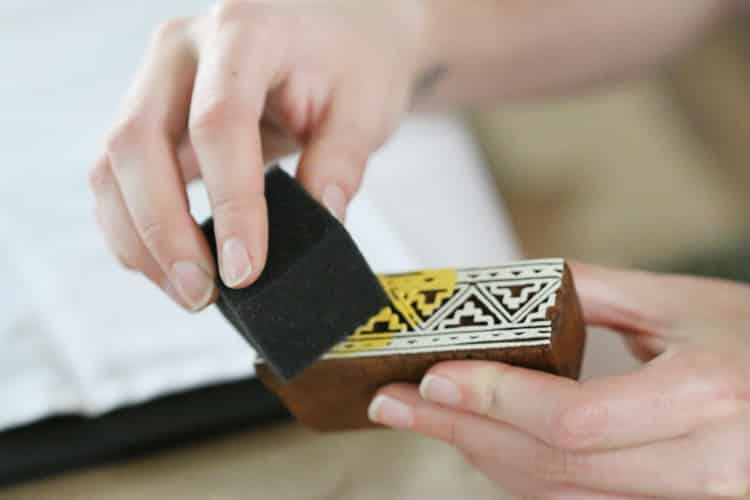
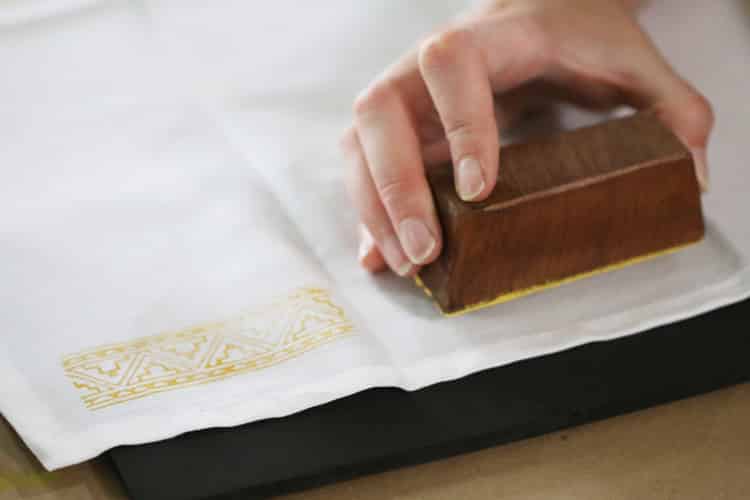
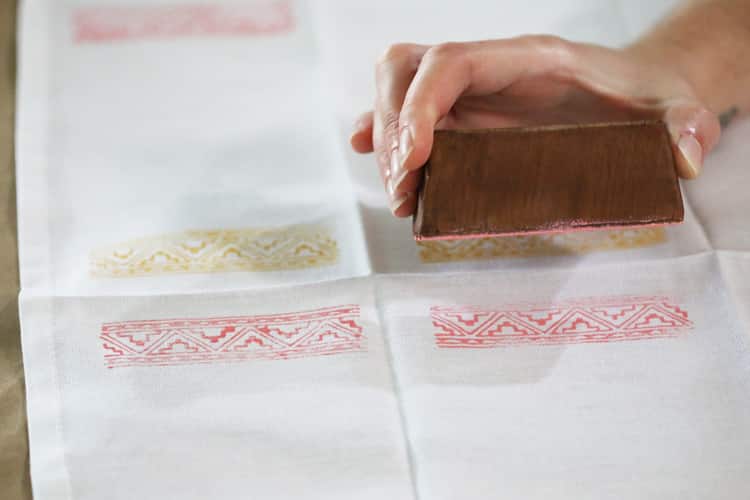
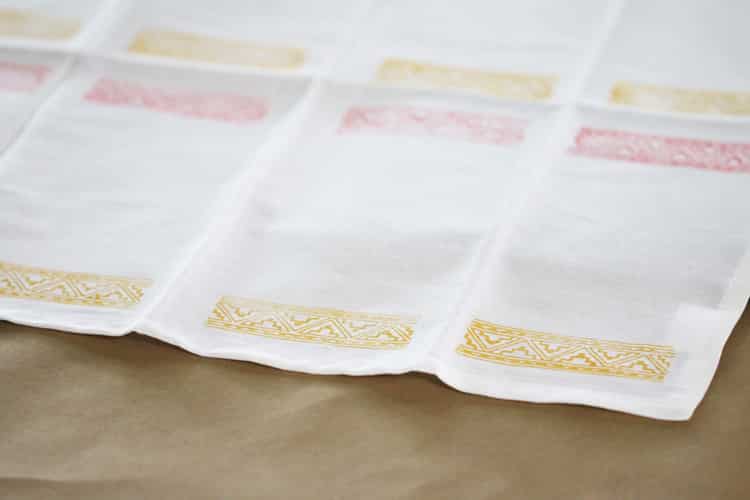
Which brings me to today’s project: an easy stamped napkin DIY with Fabric Creations™ Soft Fabric Ink. Truth is, I’ve never used fabric paint prior to this project. I was (very incorrectly) convinced it was well beyond my crafty means. I was so wrong. And now? Now I want to stamp everything in sight. You can bet that stamped napkins, pillowcases, bags and any other fabric projects will be a staple of our homemade gifts this year. Be sure to check out these other easy DIYs, too.
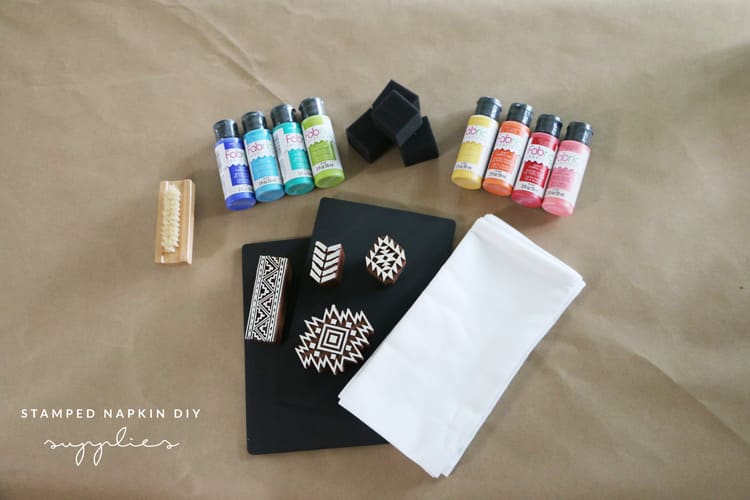
- Napkins
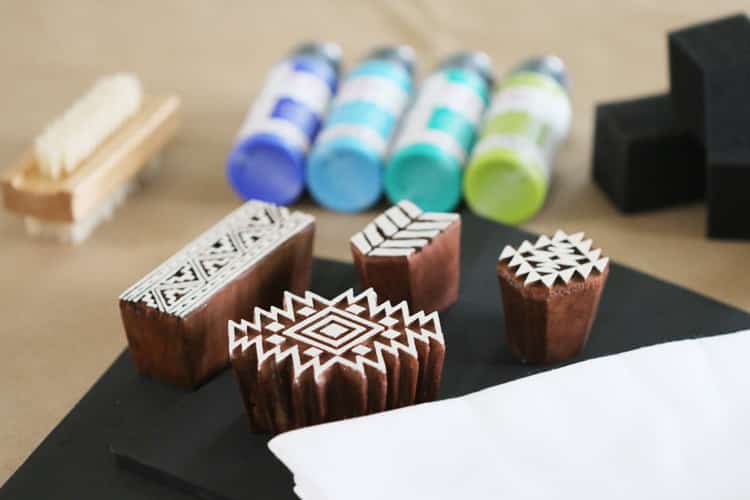
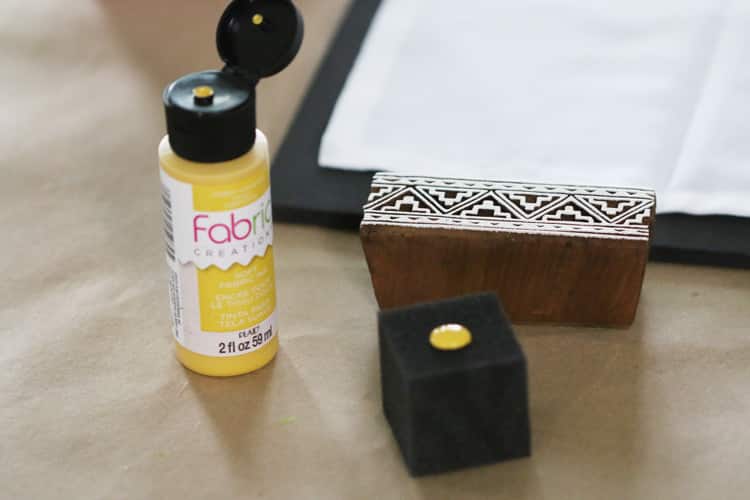
- Fabric Creations™ Soft Fabric Ink (your choice of colors)
- Fabric Creations™ Block Printing Stamps
- Fabric Creations™ Foam Printing Mats
- Fabric Creations™ Sponge Cubes
- Fabric Creations™ Cleaning Brush
You can find these supplies at Hobby Lobby and www.plaidonline.com. I highly recommend stocking up on the ink (I love ALL of the colors!) as they are so versatile. The Fabric Creations™ Soft Fabric Ink is super soft fabric ink that is the perfect formulation for stamping, stenciling and brushing on fabric. It is machine washable, waterbased, and non-toxic. Plus you can use the printing blocks for creating other fashions, quilts, textiles, stitching embroidery, scrapbooking, printing, and more!
I’d love to know: what would you make with the Fabric Creations™ Soft Fabric Ink? And if you want more inspiration, be sure to follow along on Pinterest, Facebook, and Instagram.
Want to make a stamped napkin diy project of your own?
enter to win the giveaway below!
