I know I’ve already talked about it a couple times, but the holiday season truly always does bring out the creative side of me. Between our baking utensils and my craft supplies, I’ll be living in glitter and sprinkle filled chaos for the rest of the year.
And that is exactly why I’m super excited to share this simple DIY + book review with you today because they are both perfect for the holiday season! If you’re looking to make your own gifts or have a perfect recipe to pair with a washi tape clipboard diy, this is the post for you!
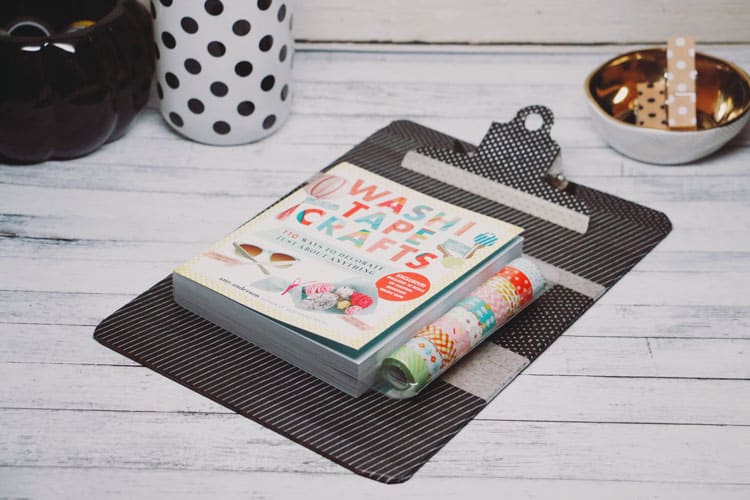
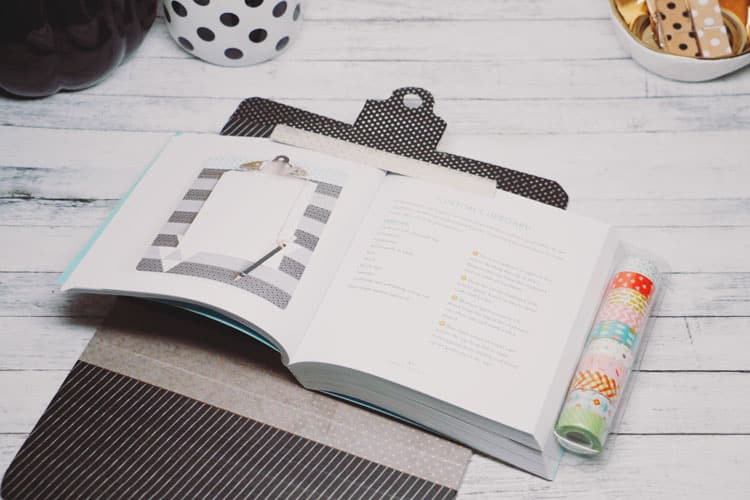
I got the idea for this awesome (and easy!) DIY from the fantastic book Washi Tape Crafts by Amy Anderson. It includes over 100 ways to decorate just about anything with washi tape. Awesome, right?! I don’t know about you, but I have an excessive amount of washi tape that was just waiting for this book.
A little about the book:
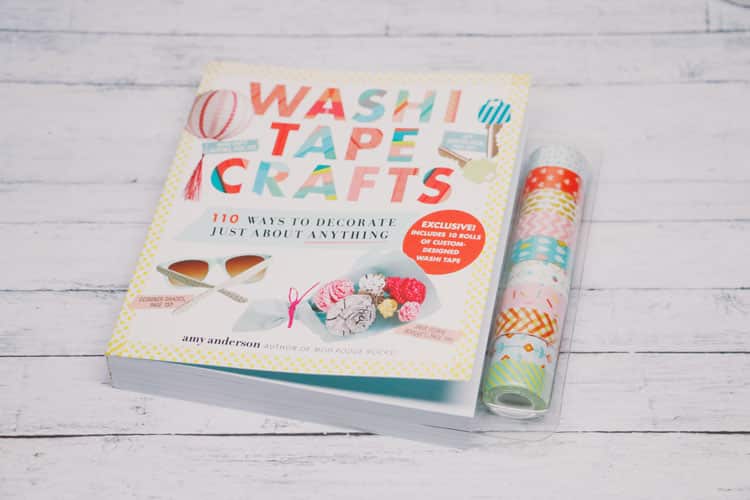
Washi Tape Crafts: 110 Ways to Decorate Just About Anything by Amy Anderson is a crafting book for savvy crafters and non-crafters alike! Fun, removable, and remarkably easy to use, washi tape is endlessly versatile. Use it to design coasters and dress up keyboards, create faux wallpaper and brighten up a chair, gussy up a Halloween pumpkin, or make props for your next party photo booth.
The only washi tape craft book for the whole family that’s packaged with the tape itself—ten rolls of tape (18 feet each) in custom-designed patterns made especially for this book—Washi Tape Crafts is a complete kit at an outstanding value. The book also teaches key techniques: precision tearing, wrapping, and weaving, and how to make bows, rosettes, and other shapes—everything you need to be able to improvise your own projects—plus how to seal and weatherproof designs to make them more permanent.
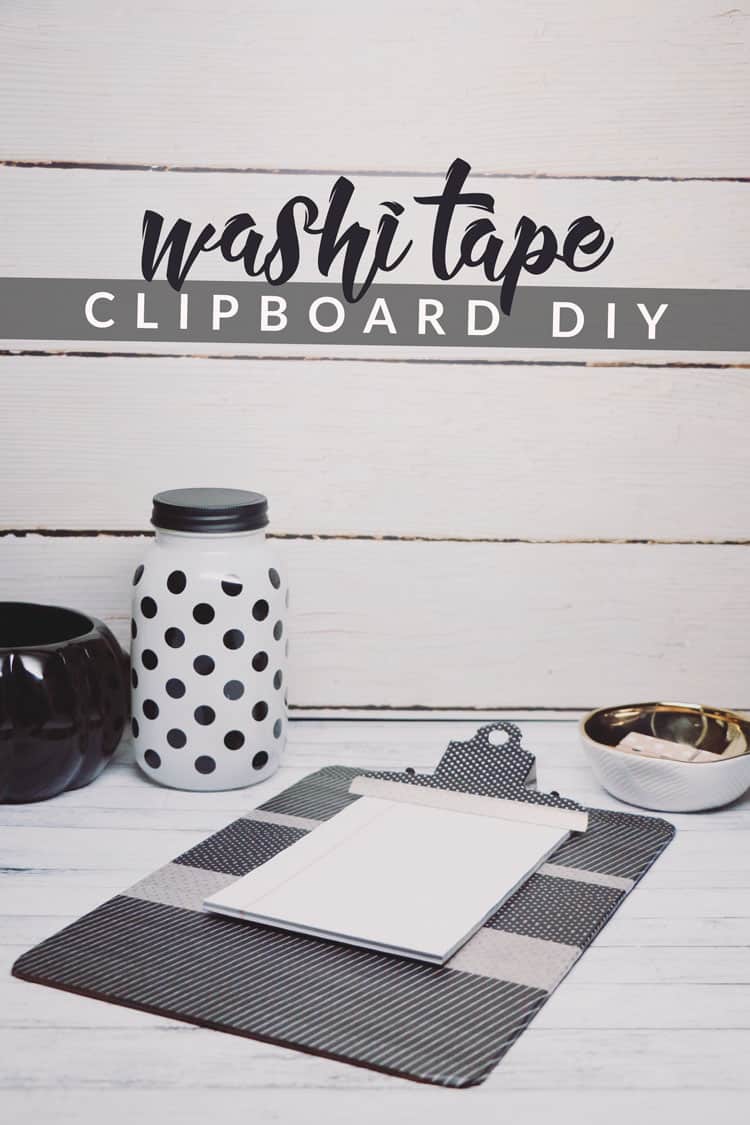
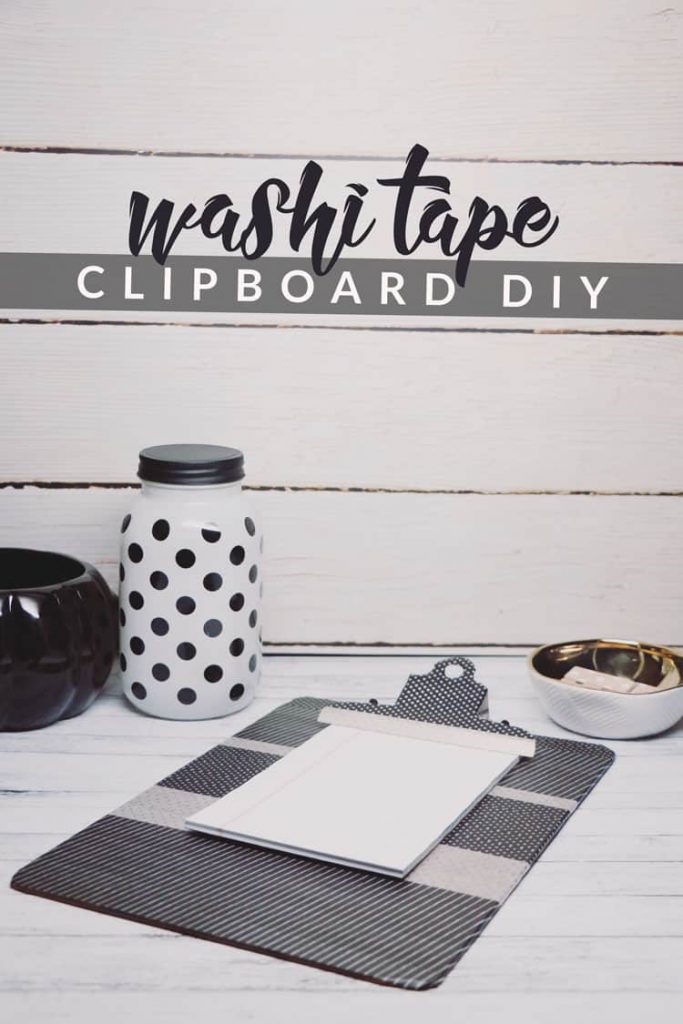
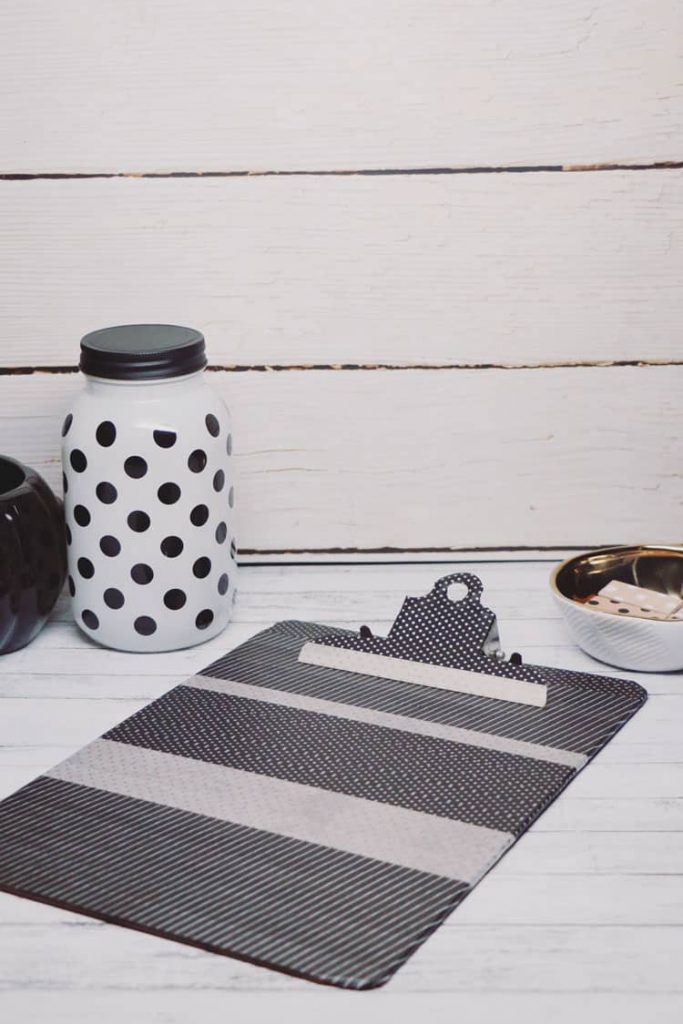
The first tutorial I decided to try was for a clipboard. I have a bunch I got for 25cents at a local business sale and they were in rough shape. Paint marks, dinged corners, scratches, etc. I figured this would be the perfect way to bring some new life to them and now I cannot wait to do more!
Amy went a lot further than I did, using paint for her design in the book and I plan to do that with my next one. Even with that addition though, it’s still such an easy and fun project.
Want to replicate my clipboard? Easy! You
Supplies
- Striped Washi Tape
- Polka Dot Washi Tape
- Exacto Knife
- Mod Podge (Optional)
Steps
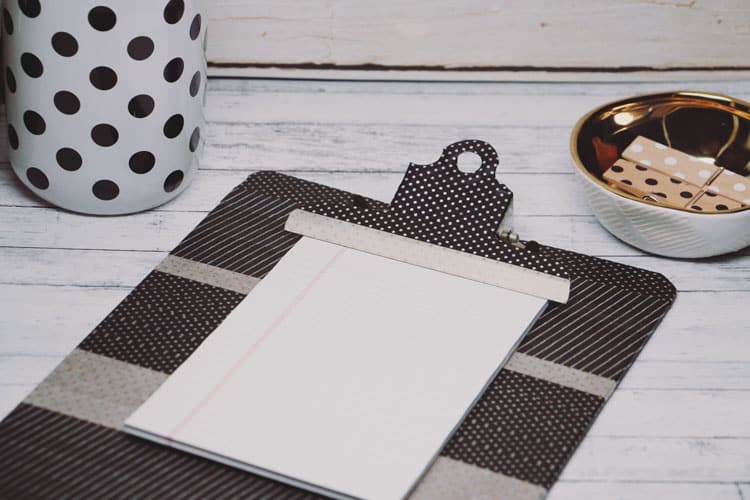
- Start at the bottom with the striped washi tape and wrap around the edges. Repeat 6-7 times, lining up the stripes to create a seamless look.
- Alternate between the striped and polka dot washi tape rolls to give it a unique look. When using the polka dot tape, line up the dots for a seamless look.
- If you’re able to, remove the top mechanisms for the clasp and cover the whole board. Mine was grommeted on so I was unable to remove it and had to tape around it. This is where the exacto knife came in handy. I just placed the washi tape down around it and cut along the curves.
- For the clip, I started at the long part (where it holds the paper) and went up from there, cutting off the sides and along the curves as needed.
- For the hole, I taped over the entire thing and then used the knife to carve out the circle. First I created a plus sign in the middle (a cut up and down then left and right) then cut out the triangles that remained.
- At the end, you can cover the whole board with a thin layer of mod podge to keep it in tact if you’d like.
Now you’ve got the perfect to-do list or recipe holder that can match any decor. Plus, it’s a fun way to personalize a gift for someone this holiday season!
Need more washi tape inspiration? I’d absolutely recommend Washi Tape Crafts! The projects are easy to follow, fun to create and provide endless inspiration. I love the fact that it already comes with 10 rolls of custom-designed washi tape, too. You’re all set to start creating as soon as you grab the book :)
