This shop has been compensated by Collective Bias, Inc. and its advertiser. All opinions are mine alone. #SendSmiles #CollectiveBias
So when it comes to gifts, I get them in advance when we head into the city. And the same goes for cards. But it’s a little trickier with cards because I like to have cards for every occasion. Sure, you can plan when you need to grab a birthday card or anniversary card, but what about a thank you card? A sympathy card? A get well soon card? Last time I checked, these events aren’t often planned so stocking up on cards is a must for me. Especially because the cards at the dollar store are super boring and the cards at the grocery store are crazy expensive!
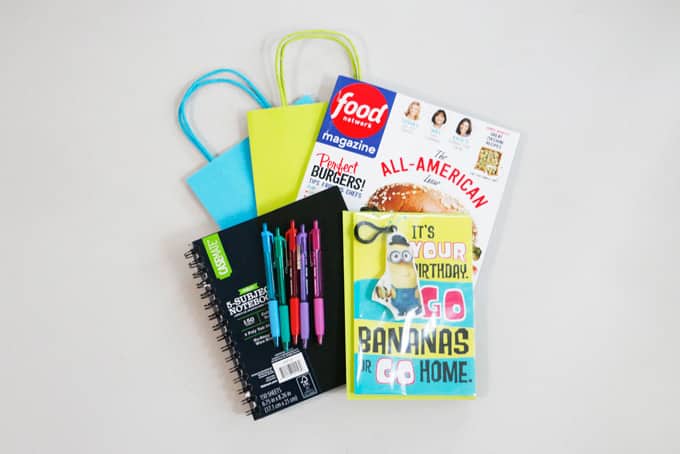
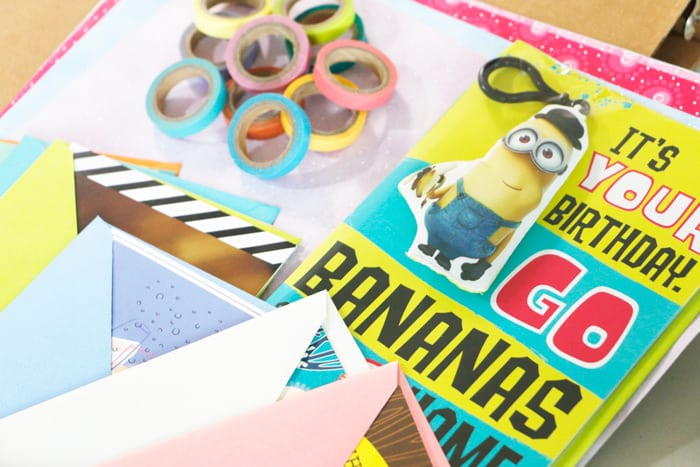
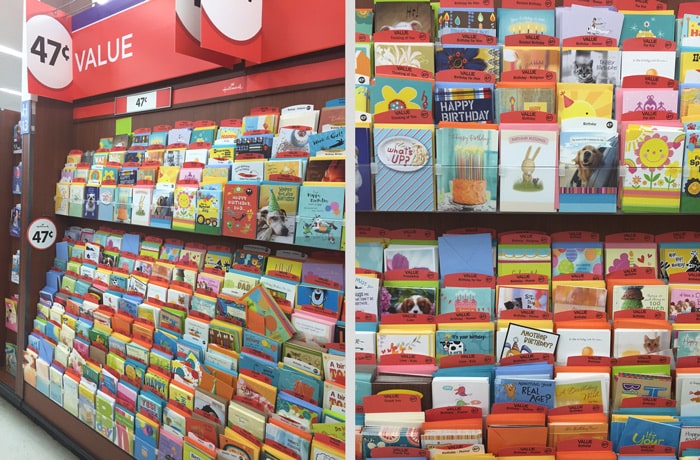
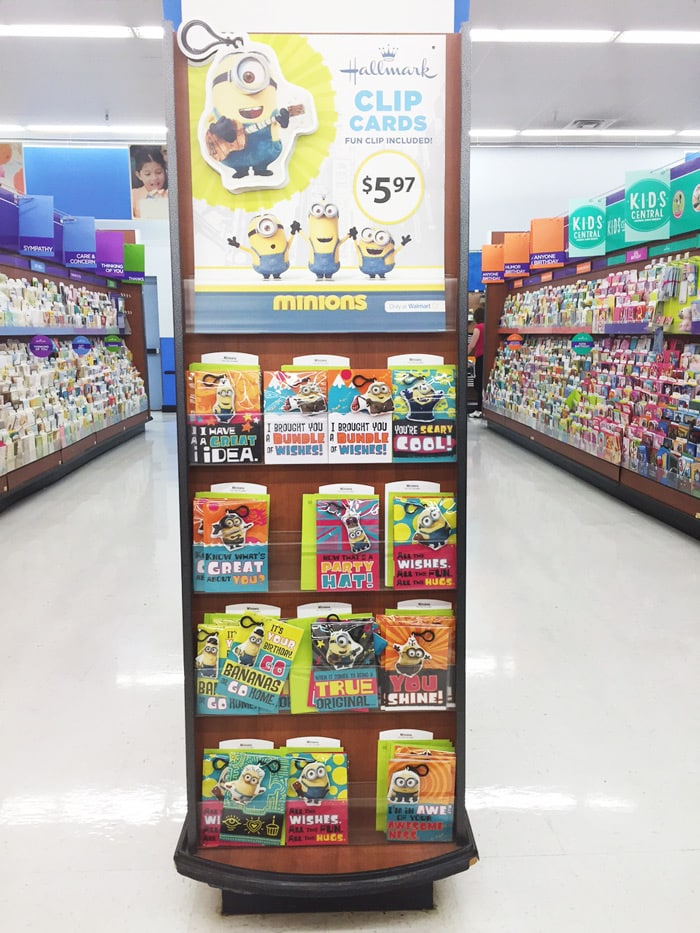
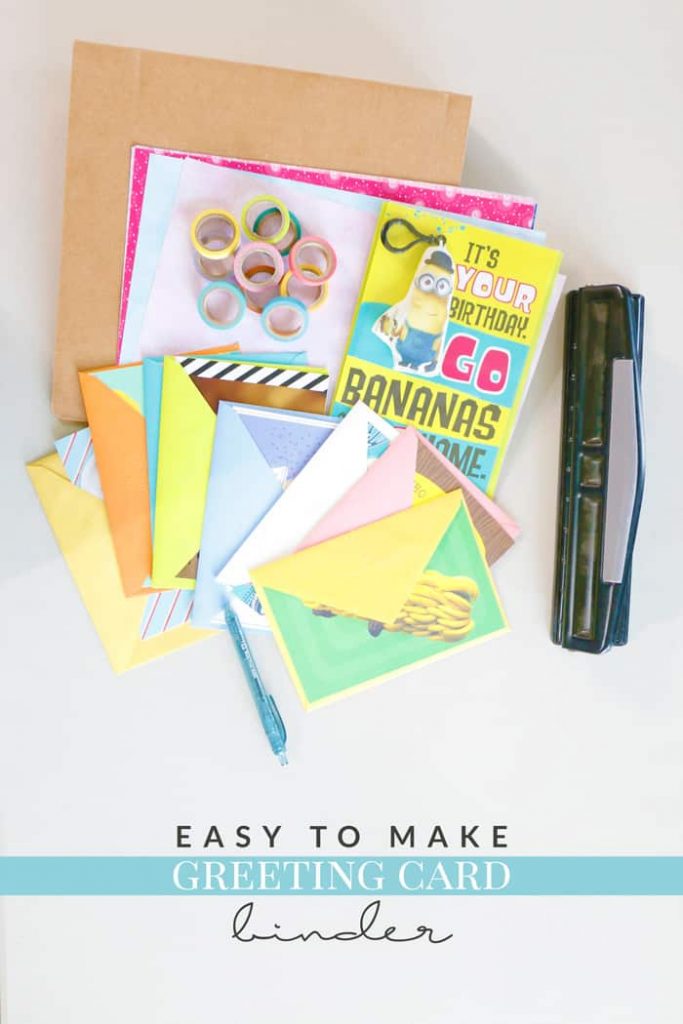
My favorite place to stock-up on cards is Walmart because A) I can get a lot of my gifts there B) their selection is massive and C) their prices can’t be beat! They have a huge variety of Hallmark cards starting at 47cents which is awesome. Especially considering it’s more expensive at the dollar store for way less selection. Plus, they have everything else you need for gifts – bags, tissue paper, and the gift itself! For example, I stocked up on a few things for one of my niece’s for her birthday in the photo above.
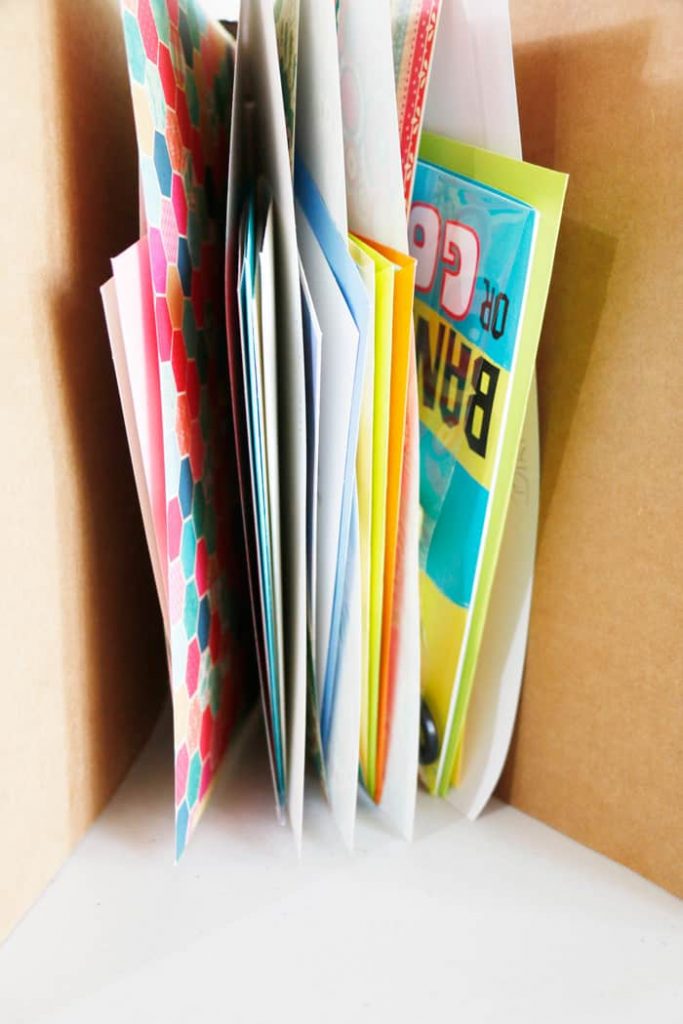
I love the one-stop shop aspect! But there is an issue that arises when I stock up on cards: how to organize them. I can’t tell you how many times I’ve gotten cards, misplaced them, and then had to buy completely new ones when the occasion came up. Fail. So I set out to remedy that with an easy greeting card binder made with supplies I already had at home!
Greeting Card Binder
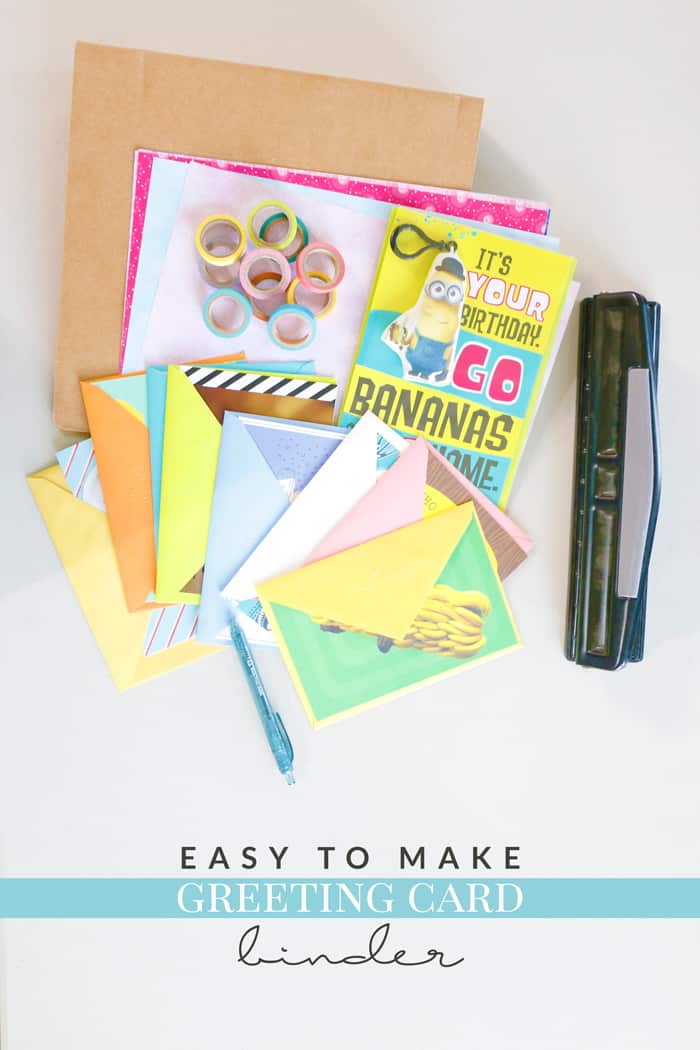
- Binder or Scrapbook Book (I used this binder + trimmed a bit off the paper to fit)
- Washi Tape (Like these rolls)
- Scrapbook Paper (I used 12″x12″)
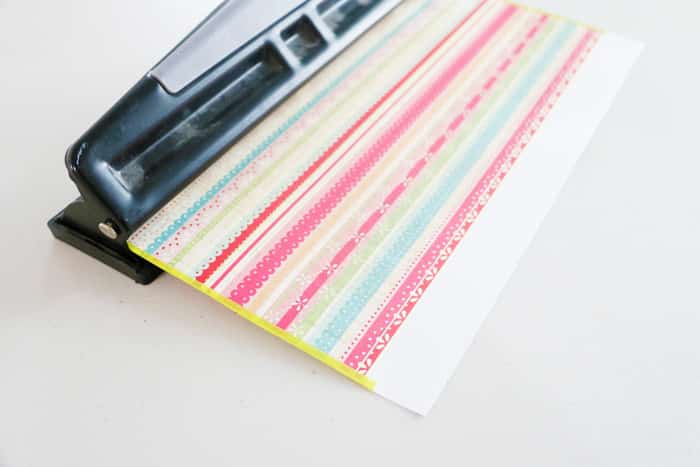
- Three Hole Punch
- Pen
If you’d prefer to skip making the folders, you can also just use ready-made folders and label them. I opted to make my own since I had a plethora of scrapbook paper that just needed to be used! You can also use two sheets of paper instead of folding one for bigger “folders.”
Steps
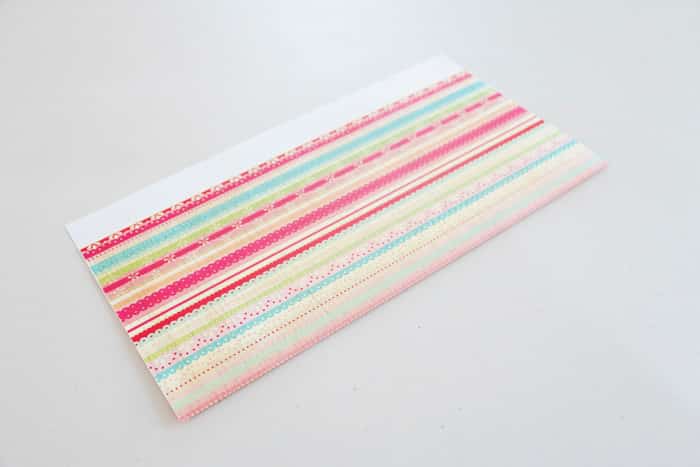
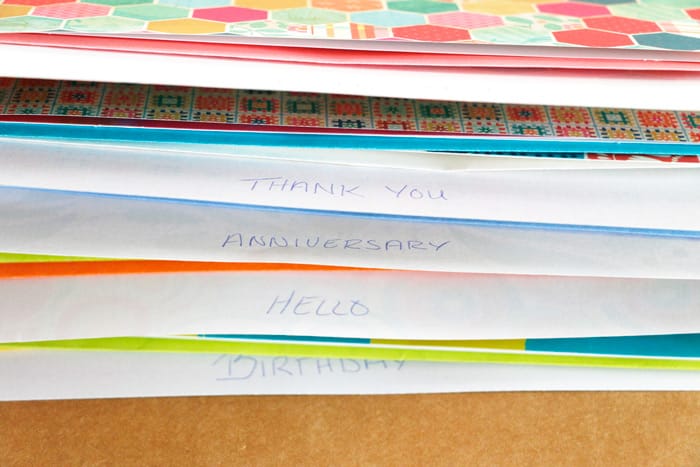
Fold the scrapbook paper, decorated side up, leaving about an inch of the white side open (this is where you’ll write what cards are in the “folder.”)
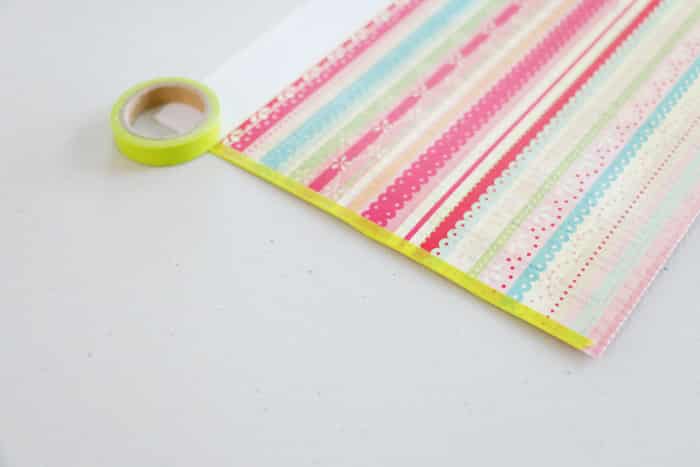
Place the washi tape along one side from the top to the bottom of the decorated side. Fold over to close that side of the “folder.” Repeat on the other side.
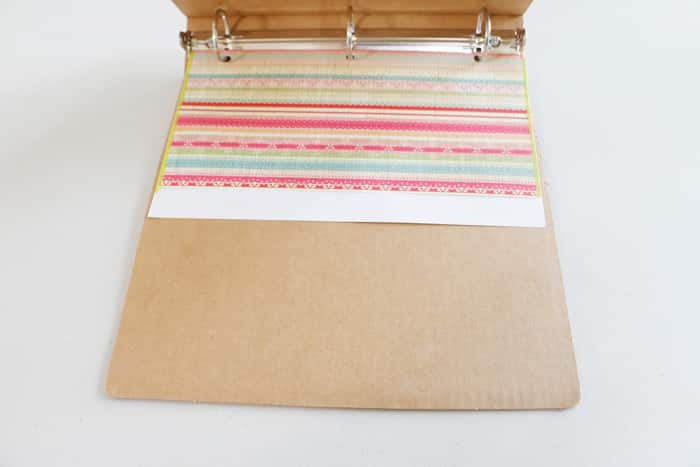
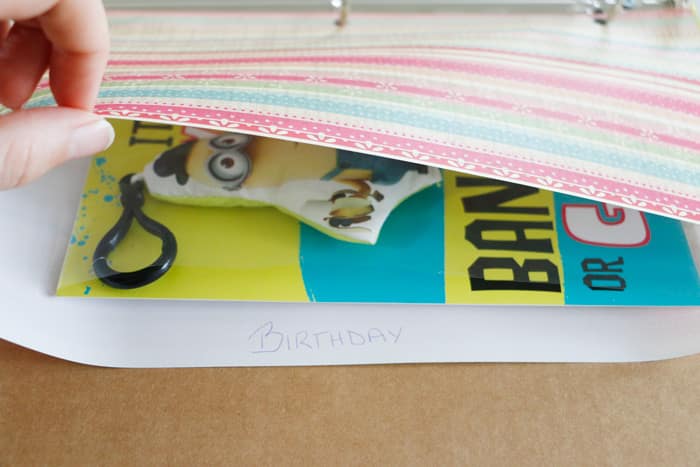
Repeat for every type of card that you keep on hand and decorate the front to your liking!
Optional: include a post-it note on the inside of the binder to write whenever you need to stock up on a card category when you use the last card! Or even include important upcoming dates on the inside of the binder so you don’t have to search for the next birthday coming up!
These awesome Hallmark cards can only be bought at Walmart so be sure to visit to stock up on your cards for your greeting card binder! They have something for pretty much every occasion, too. Want to see more from Hallmark? Follow them on Twitter, Facebook, Pinterest, Instagram + YouTube.
