Want to make your own DIY Raised Garden Bed? This step-by-step tutorial will help get your garden up and growing in no time!
Gardening is an expression of who we are. Personalities seem to come forth in elaborate display when a shovel is placed in a gardener’s hand. Lack of space need not be an excuse. From apartments to acres of space, gardening can accommodate your preferences. My first “large” garden was in Orlando. Who would guess that this garden was transformed from a yard of St. Augustine grass without a flower to be seen? We did it in a neighborhood with deed restrictions by getting special permission.
Related Reading: Everything You Need to Know About Container Gardening
This truly was the start of my “Secret Garden” hidden from our neighbor determined to put a stop to it. It was during those first few years that I learned a lot by trial and error. I didn’t start with a green thumb. It was something I developed! I hope that gives you the inspiration you need to start gardening.
So where do you start if your thumb is not green and you want to give gardening a try? A DIY raised garden bed is a great place!
While staying in a temporary rental in Raleigh, North Carolina, I wanted to again have raised beds because they are portable and allowed me to have a small garden until we built my 60′ x 20′ vegetable garden. Once we started SHAPE Eco Farm, all we had to do was rent a moving van and transport it to a new location which now serves as a kitchen garden. We decided to use cedar because it lasts longer and helps fend off bugs. It is more expensive, but well worth the investment.
Step 1: Choose dimensions
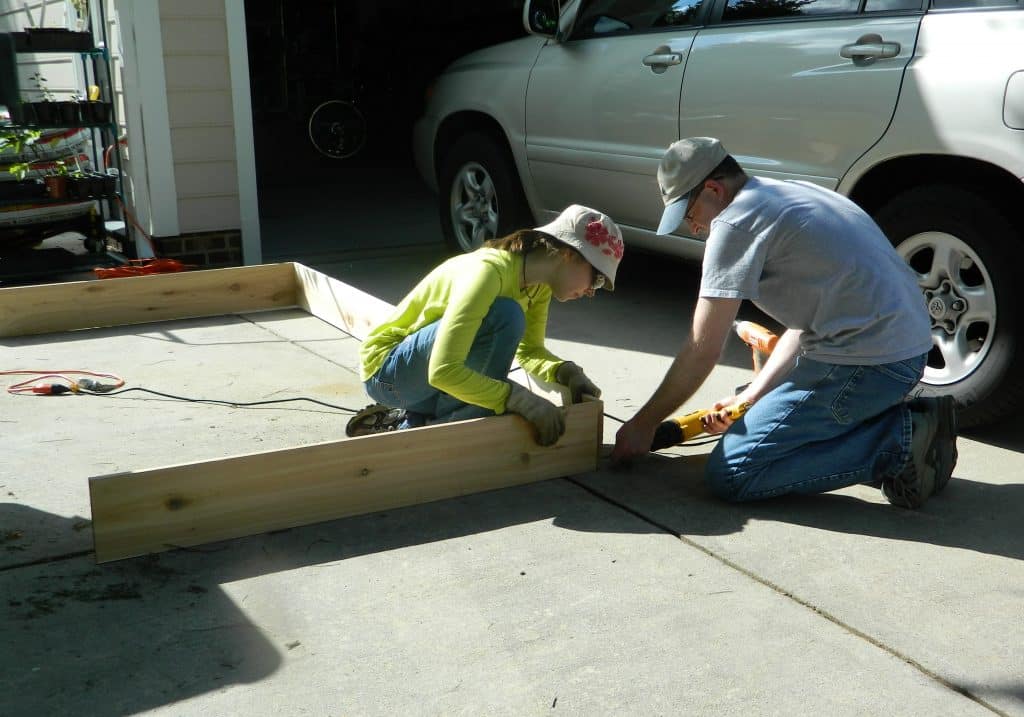
After choosing what wood you want to use, it is time to decide what size you want your DIY raised garden bed to be. The recommended width is 4 feet so that you can easily reach across for harvesting produce. My dad and I worked together to build a 4’ x 4’ raised bed and 4’ x 8’ bed. We decided to use 8 inch wide cedar boards to allow greater depth for plant roots. To assemble the 4′ x 8′ bed, my dad cut the 8’ board in half for the two ends and then we used the other two 8’ boards for the other sides.
Step 2: Attach boards and transport
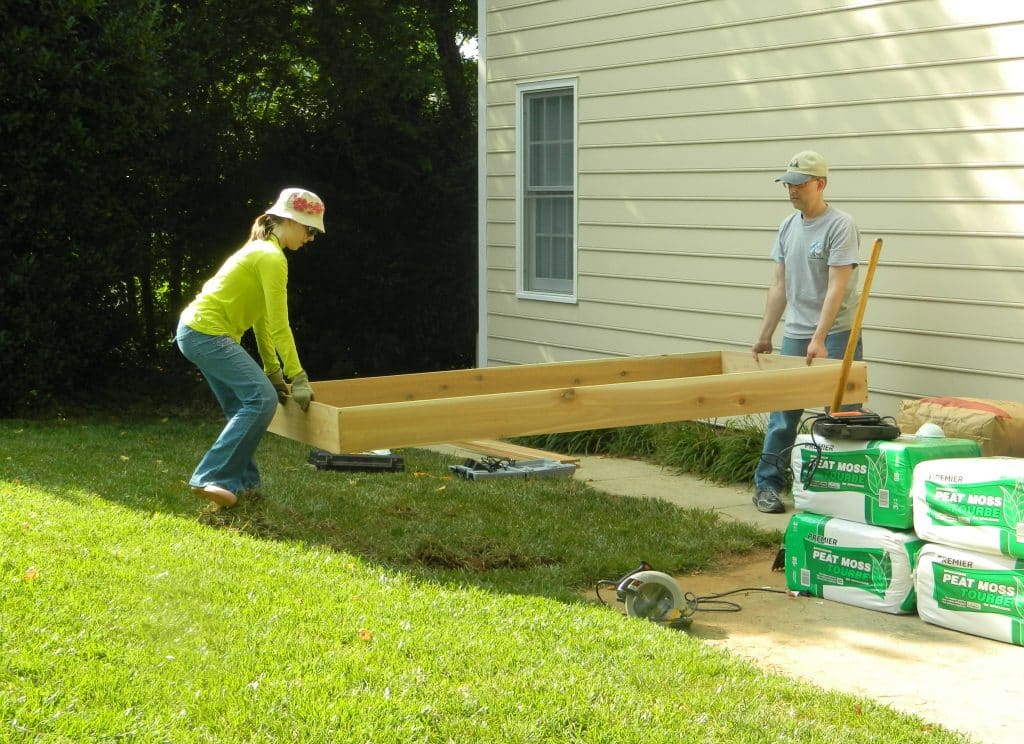
We used deck screws for assembling the raised bed. It is important to make sure you line up the corners before drilling. Find a level place for the drilling process and then move it once it is assembled.
Step 3: Supply weed protection
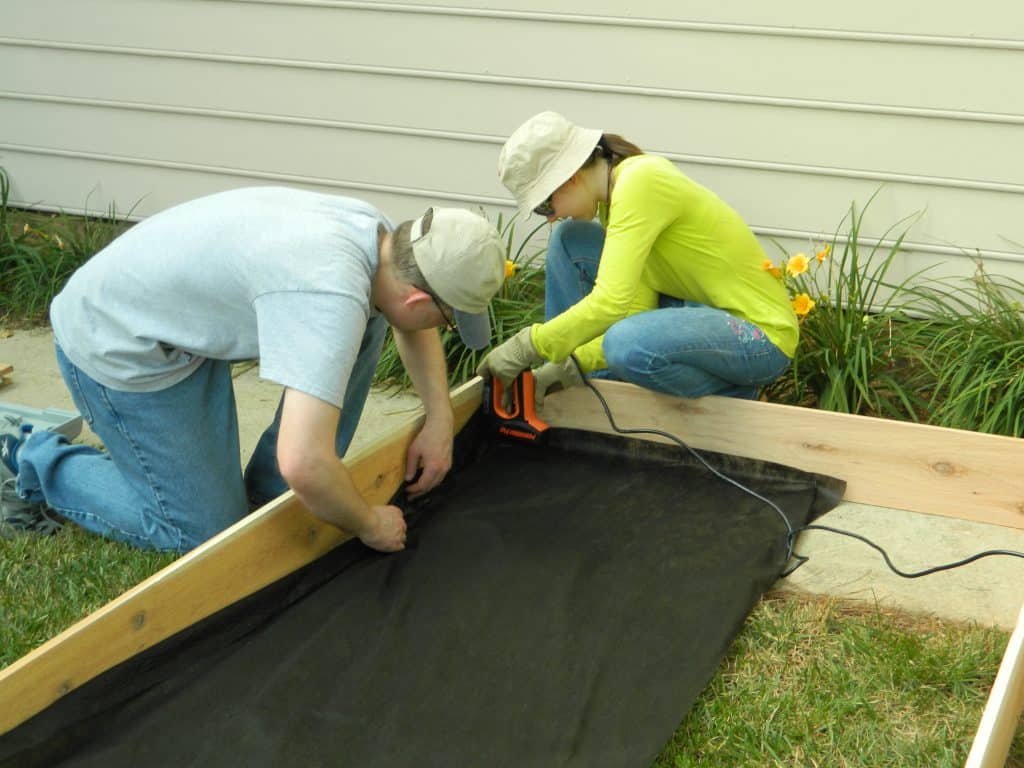
We decided to install material to prevent weeds from growing into my bed. It also made it easier to save the dirt and transport it when it was time to move. Our handy dandy staple gun made the job quick.
Related Reading: Herb and Essential Oil Pesticide DIY
Step 4: Add dirt
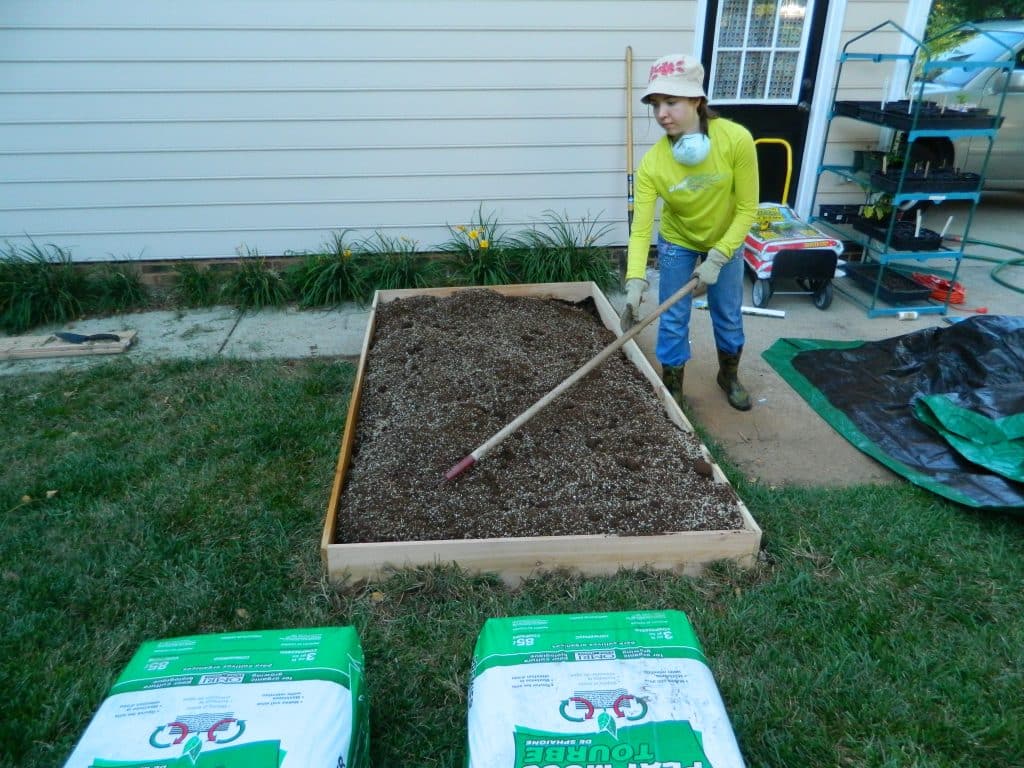
To make the dirt we purchased 10 cubic feet of organic compost, 10 cf of peat, and 10 cf of vermiculite. We poured it onto a tarp in batches of 5-6 cubit feet and mixed it up before pouring it into the boxes. Make sure you wear a mask when working with the vermiculite and peat because the small particles can agitate your lungs and throat. Also, fill up the box with dirt as much as possible to give the vegetable plenty of space to spread their roots. Then rake it out evenly.
Step 5: Label, plant, and enjoy the harvest!
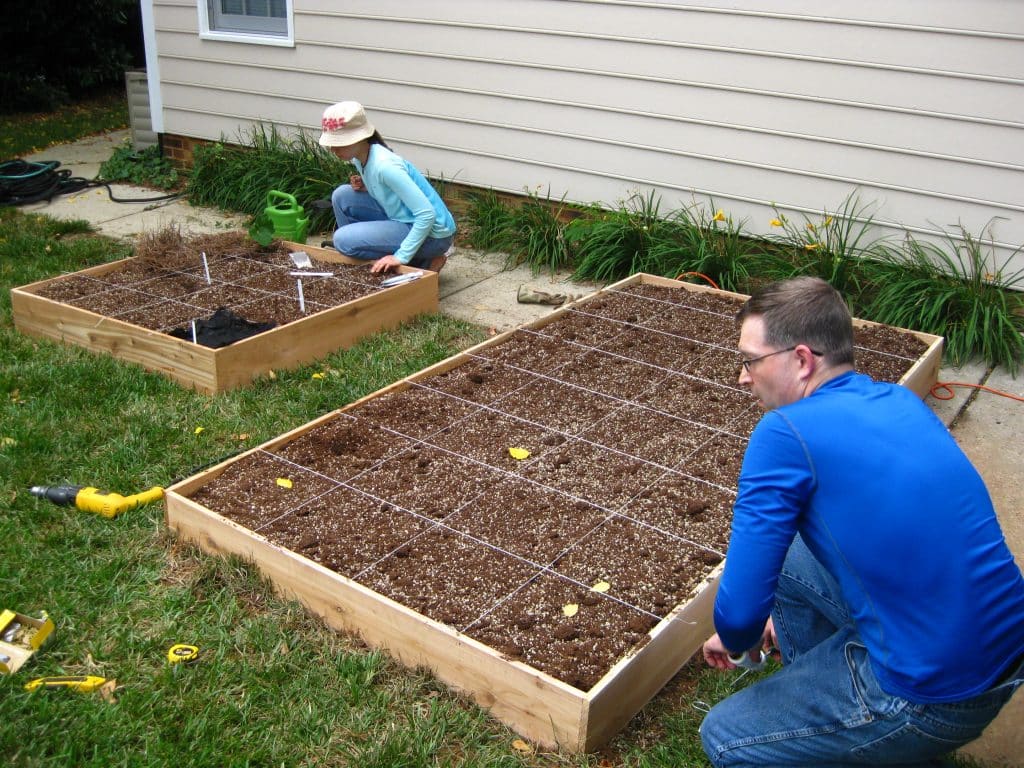
After the construction was complete, we used twine to mark off individual square feet. The square foot garden method is an excellent way to keep the garden looking neat and tidy. It is not necessary to mark off the squares, but I highly recommend trying it. We placed deck screws every foot to tie the strings to. I add labels in the squares to keep track of the seeds I plant.
Related Reading: Easy Fruits and Vegetables for the Beginner Gardener

Related Reading: How to Regrow Fresh Produce
