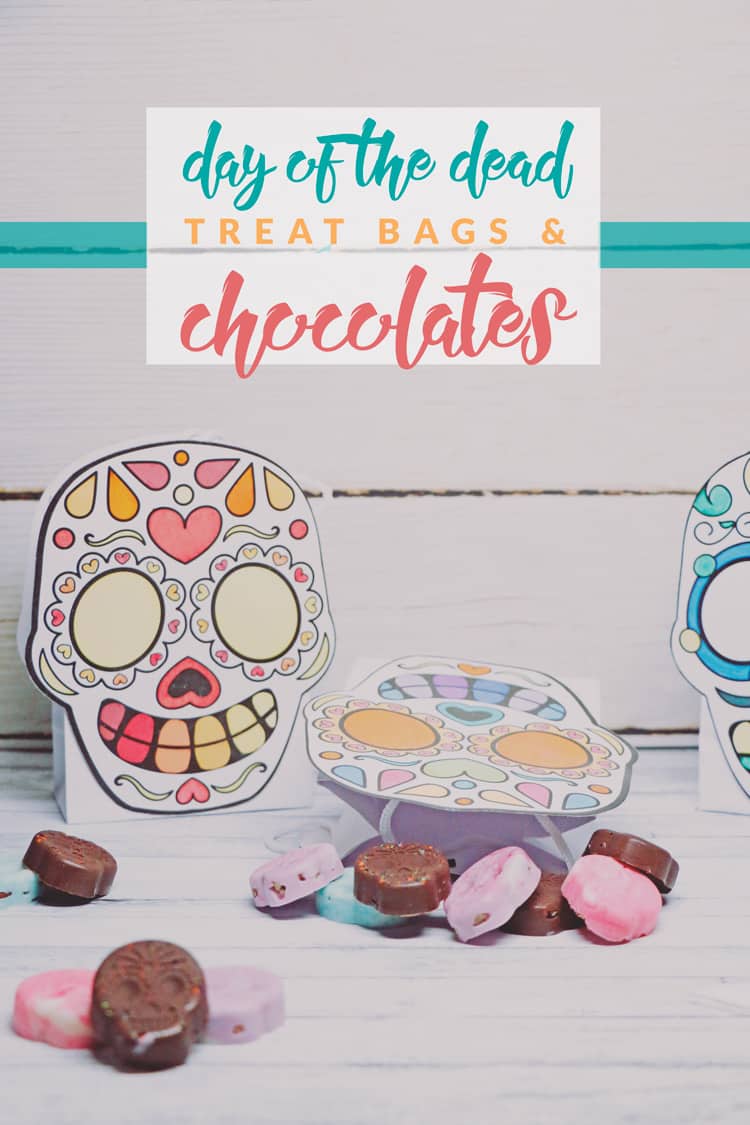
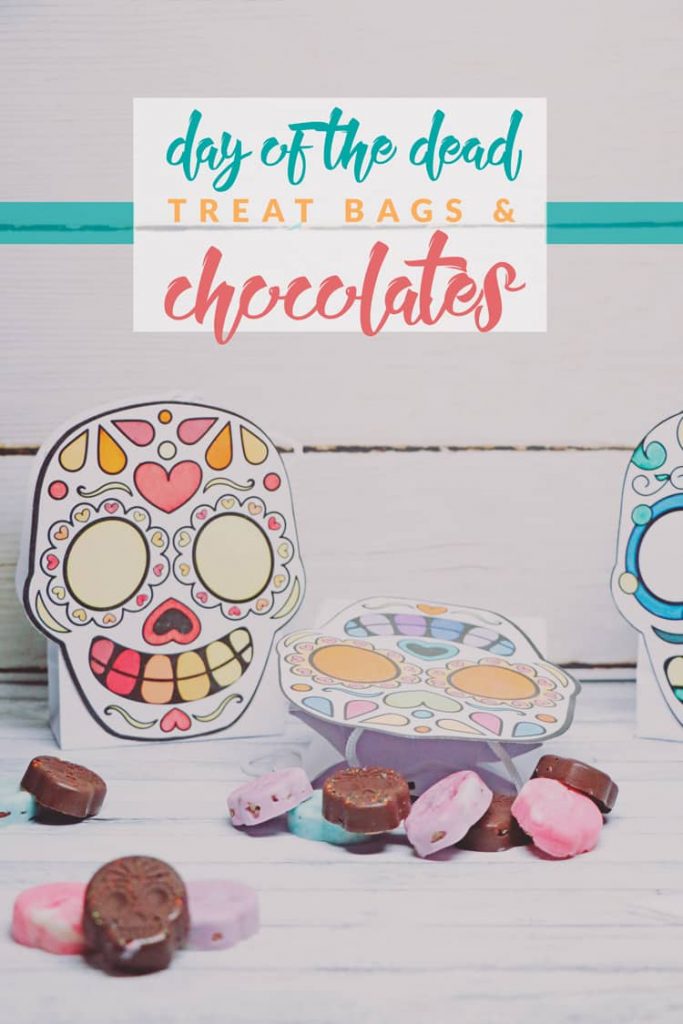
Your Day of the Dead celebrations aren’t complete without this delicious Sugar Skull Chocolate Candy Recipe paired with coloring treat bags! I was provided a portion of these products free of charge by Oriental Trading. No other type of compensation was received for this review. This review is based strictly on my opinion. Others may have a different opinion or experience with the products listed in this post.
When we went to Xcaret Park in January, one of my favorite things that we got to visit was the cemetery there. It was a traditional Mexican cemetery with beautiful architecture surrounded by tombs that had unique touches to each and every one of them. It was truly a stunning place to be and it was part of what first led me to really learning more about the Day of the Dead.
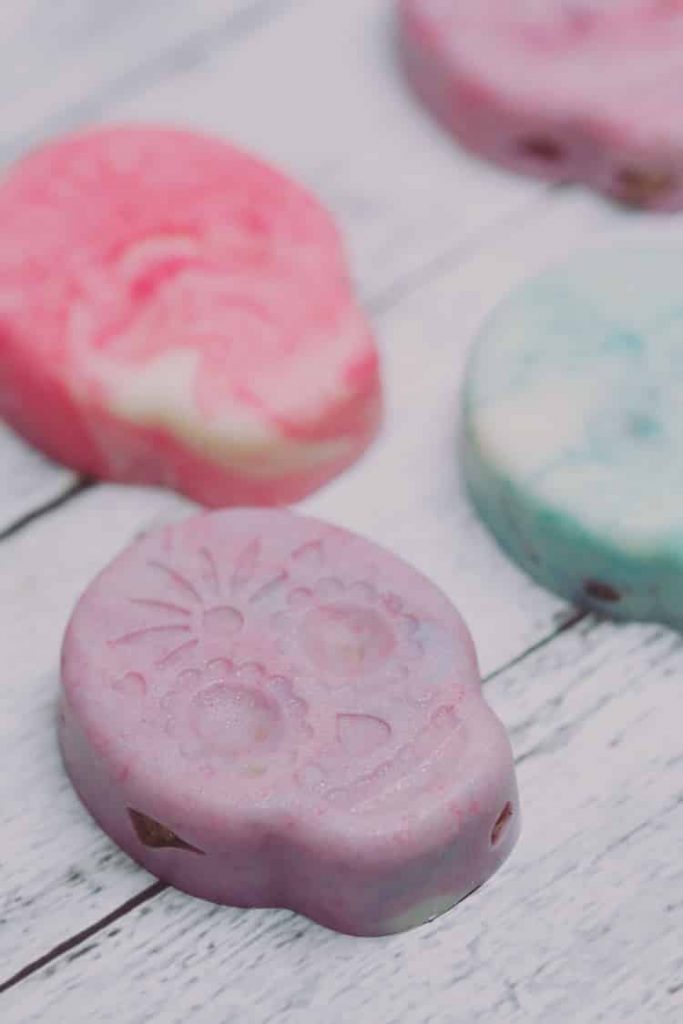
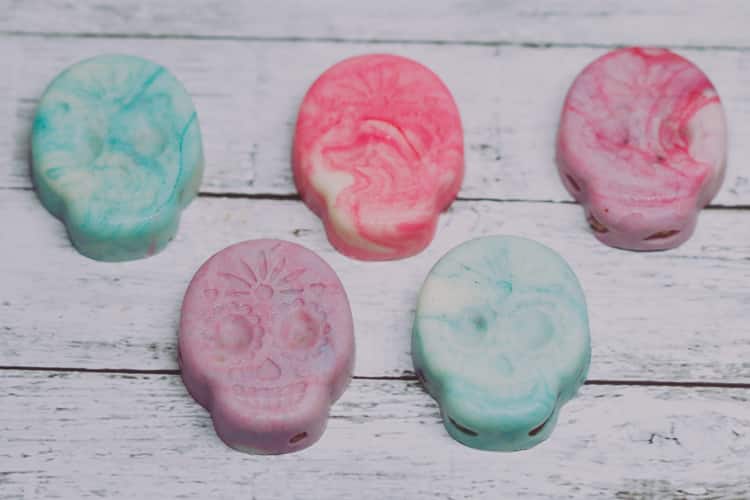
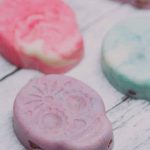
Regardless of how much you know about the Day of the Dead, this simple sugar skull candy recipe can be enjoyed by all!
These are pretty easy to make, but the possibilities for filling them are endless! You can use different nuts, jams, coconut, small fruit, fruit preserves, etc. Basically anything that pairs well with chocolate goes.
If you’re looking for the mold I used, you can find it here.
- 6 oz White Candy Melting Chips
- Chopped Nuts Optional
- Food Coloring Optional
- 6 oz Milk Chocolate Candy Melting Chips
- Chopped Nuts Optional
- Sprinkles Optional
-
Melt the chocolate 2 oz at a time in the microwave in a microwave safe container. Melt for 30 seconds at half power and stir. Repeat until smooth.
-
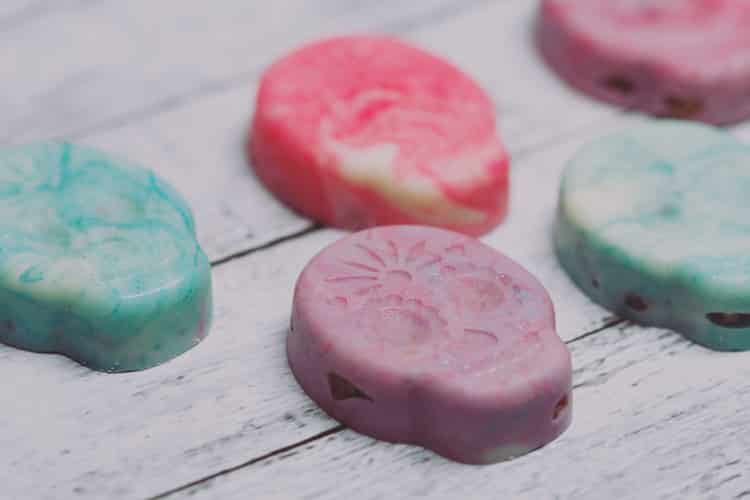
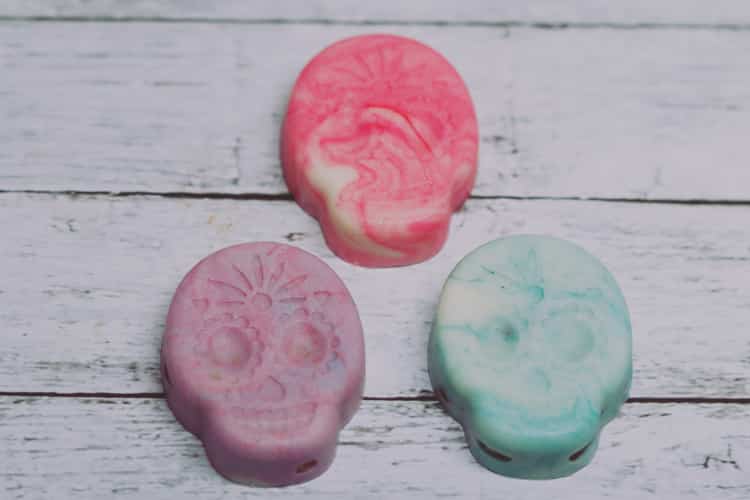
Add in 1-2 drops of food coloring. Don't mix entirely if you'd like the marbled look like in the photos.
-
Fill the mold 1/4 to 1/2 full with the chocolate.
-
Place 1/2 tsp of nuts and press down lightly. Even out throughout the chocolate.
-
Cover with chocolate and repeat for the other two molds.
-
Repeat these steps for the other molds.
-
Place in the freezer until hard/frozen solid.
-
Melt the 6oz of chocolate in the microwave in a microwave safe container. Melt for 30 seconds at half power and stir. Repeat until smooth.
-
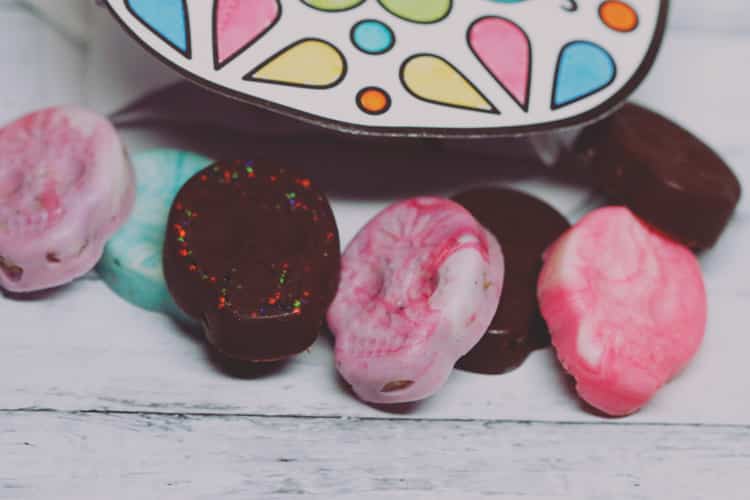
Add in the sprinkles to the bottom of the mold.
-
Fill the mold 1/4 to 1/2 full with the chocolate.
-
Place 1/2 tsp of nuts and press down lightly. Even out throughout the chocolate.
-
Cover with chocolate and repeat for the other molds.
-
Repeat these steps for the other molds.
-
Place in the freezer until hard/frozen solid.
If you're doing these back to back, or doing multiple batches, give the initial batch at least 15 minutes in the freezer and check for doneness. Pop out and make them again!
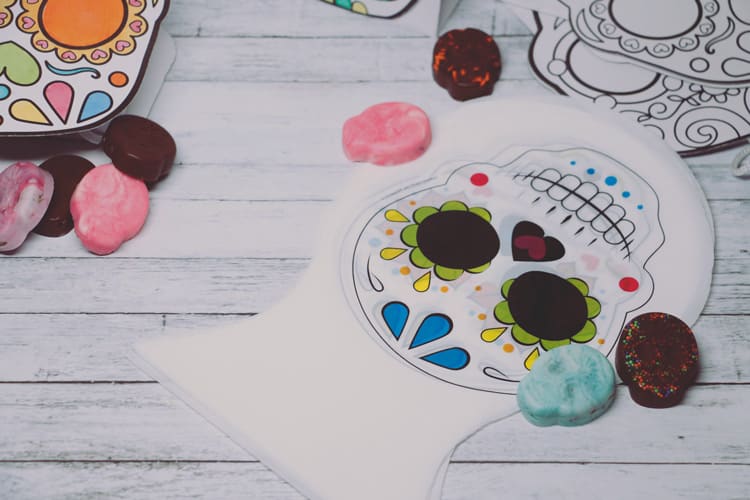
And to pair with these scrumptious sweets? Day of the Dead coloring bags!
These are perfect for kids and adults to color their own treat bag and then fill it with their desired treats. Just place some markers along with the bags and no one will ever forget which bag is theirs.
Want to get some of your own? Head over to Oriental Trading and grab these Color Your Own Day of the Dead Bags. Not feeling like dealing with the markers and the drawings on the table? No problem! They’ve got awesome Day of the Dead Cellophane Bags, too.

