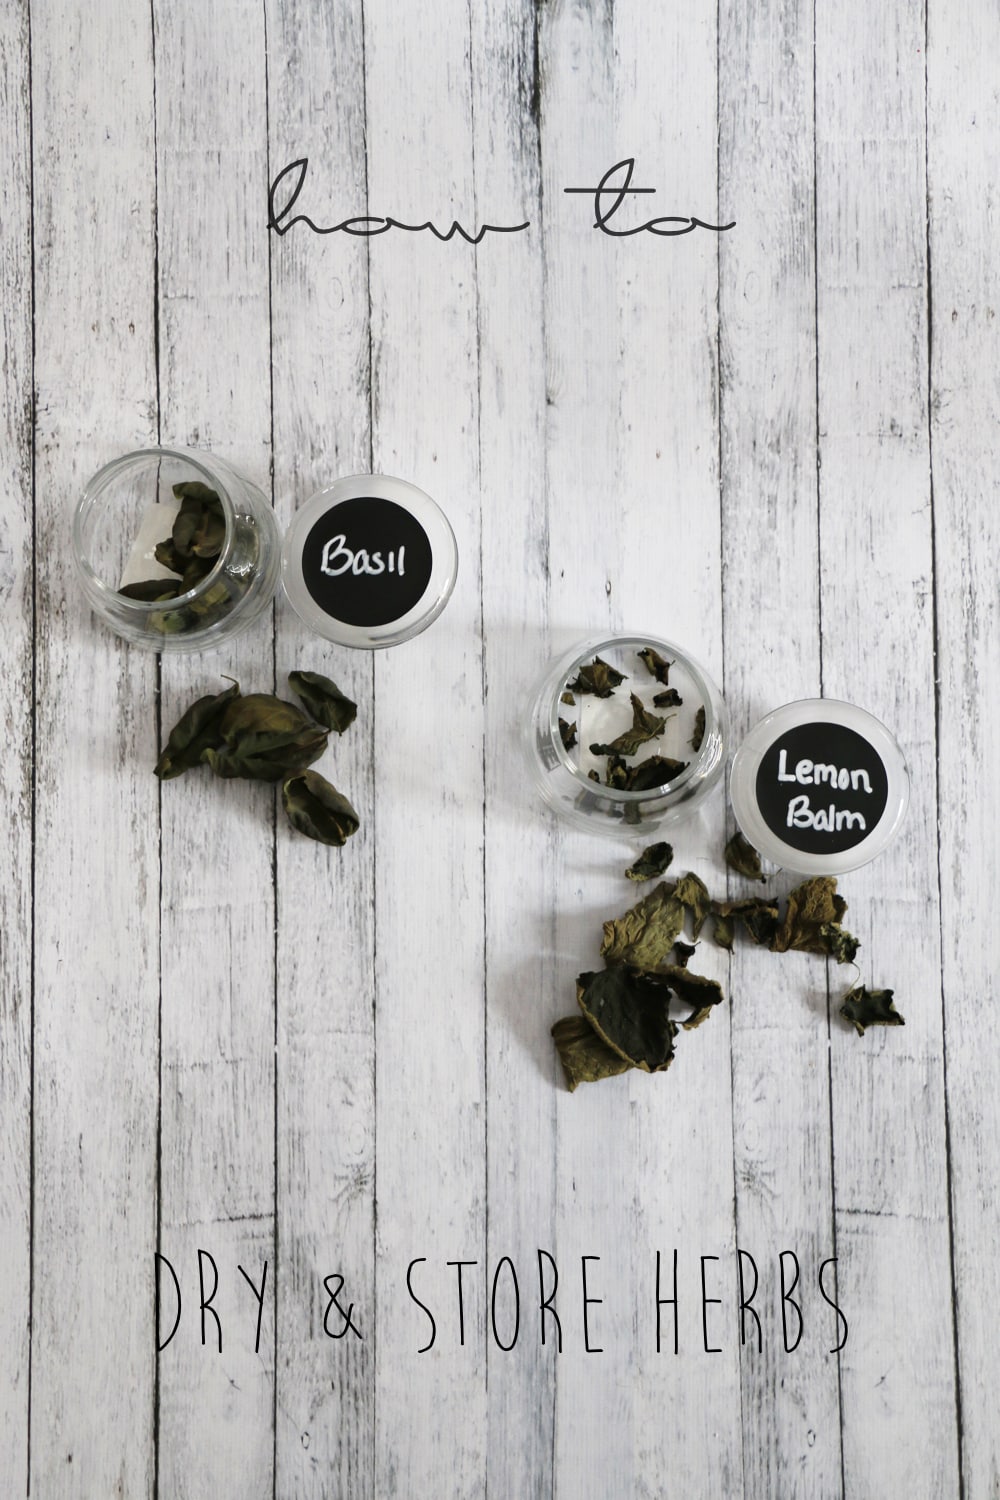
Growing your own herbs is a great way to build your homestead without taking up a huge chunk of land. Due to the bitterly cold Winters in Wisconsin, we opted for an Aerogarden to help us grow ours as we wanted fresh herbs year-round. If you’re lucky, the herbs will grow faster than you can use them so you’ll have to find a way to preserve them. So here’s a quick guide on how to dry herbs so you can enjoy them long after the harvest!
Before Drying Your Herbs
Once the herbs are harvested, be sure to remove any bruised or damaged leaves/stems, especially moldy ones. Once you have the herbs you want to dry, gently rinse your herbs and shake or gently pat dry to remove any excess moisture.
How To Dry Herbs
There are three common methods for drying herbs:
- Dehydrator
- Air Drying
- Oven Drying
If using a dehydrator: Preheat to 95°F to 125°F – the higher the humidity in your area, the higher the temperature needs to be. Place the herbs in a single layer on the dehydrator sheets and dry for 1-4 hours. Drying times will vary dependent on the area you’re located in and the herbs you are drying. Check often to see if the herbs are fully dried. If not, keep drying in the dehydrator.
If air drying: Although outdoor drying is possible, indoor drying gives you much more control. A dry, warm spot is ideal for air drying so avoid the kitchen for air drying. Tie the stems in bundles (usually between 5-7) with twist-ties, string, or rubber bands. Keep in mind that the stems will shrink as they dry so it will need to be tightened as they dry. Wrap a muslin or paper bag with plenty of holes in it around the herbs (being careful not to crush them) and tie/close it around the stems. Hang the bag so the herbs are upside down and check weekly. Some herbs can be ready in as little as one to two weeks.
If using the oven: Turn the oven on warm or the lowest temperature for 30 minutes. While it’s heating, spread your herbs out on a cookie sheet or in a baking dish. After 30 minutes are up, turn the oven off and place the cookie sheet or baking dish on the center rack. Let sit overnight or for at least 12 hours. Check if the herbs are fully dried. If not, repeat the process.
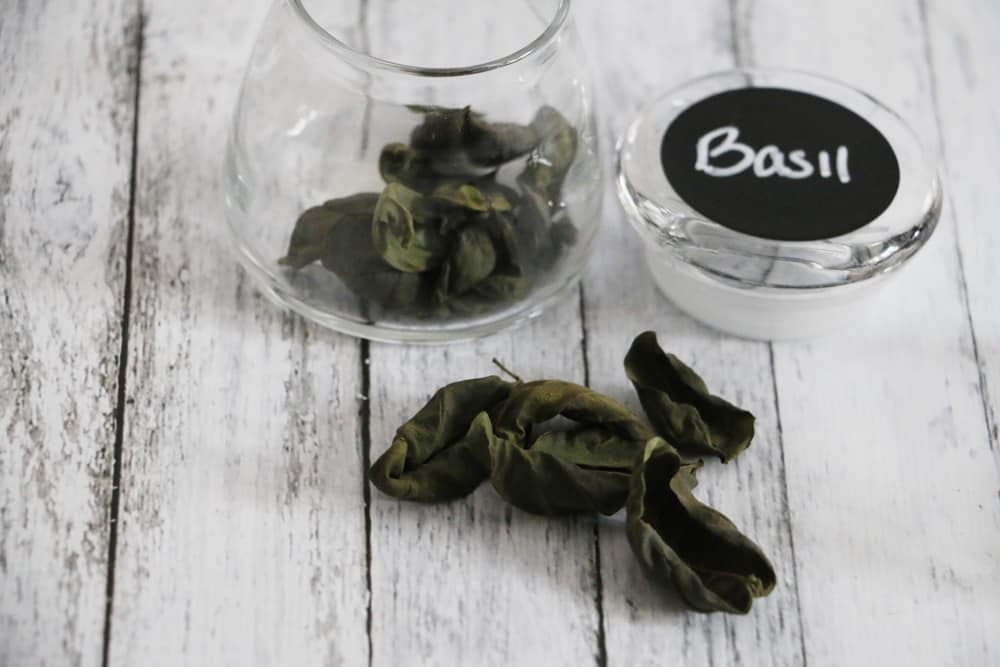
For all methods, you’ll know when the herbs are dried when they crumble between your fingers and/or the stems snap when they are bent.
Storing the herbs
Once you’ve dried your herbs, it’s important to store them correctly to ensure that they last as long as possible. The key elements of proper herb storage are:
- Airtight container
- Not in direct sunlight
- Stored in a cool, dry area
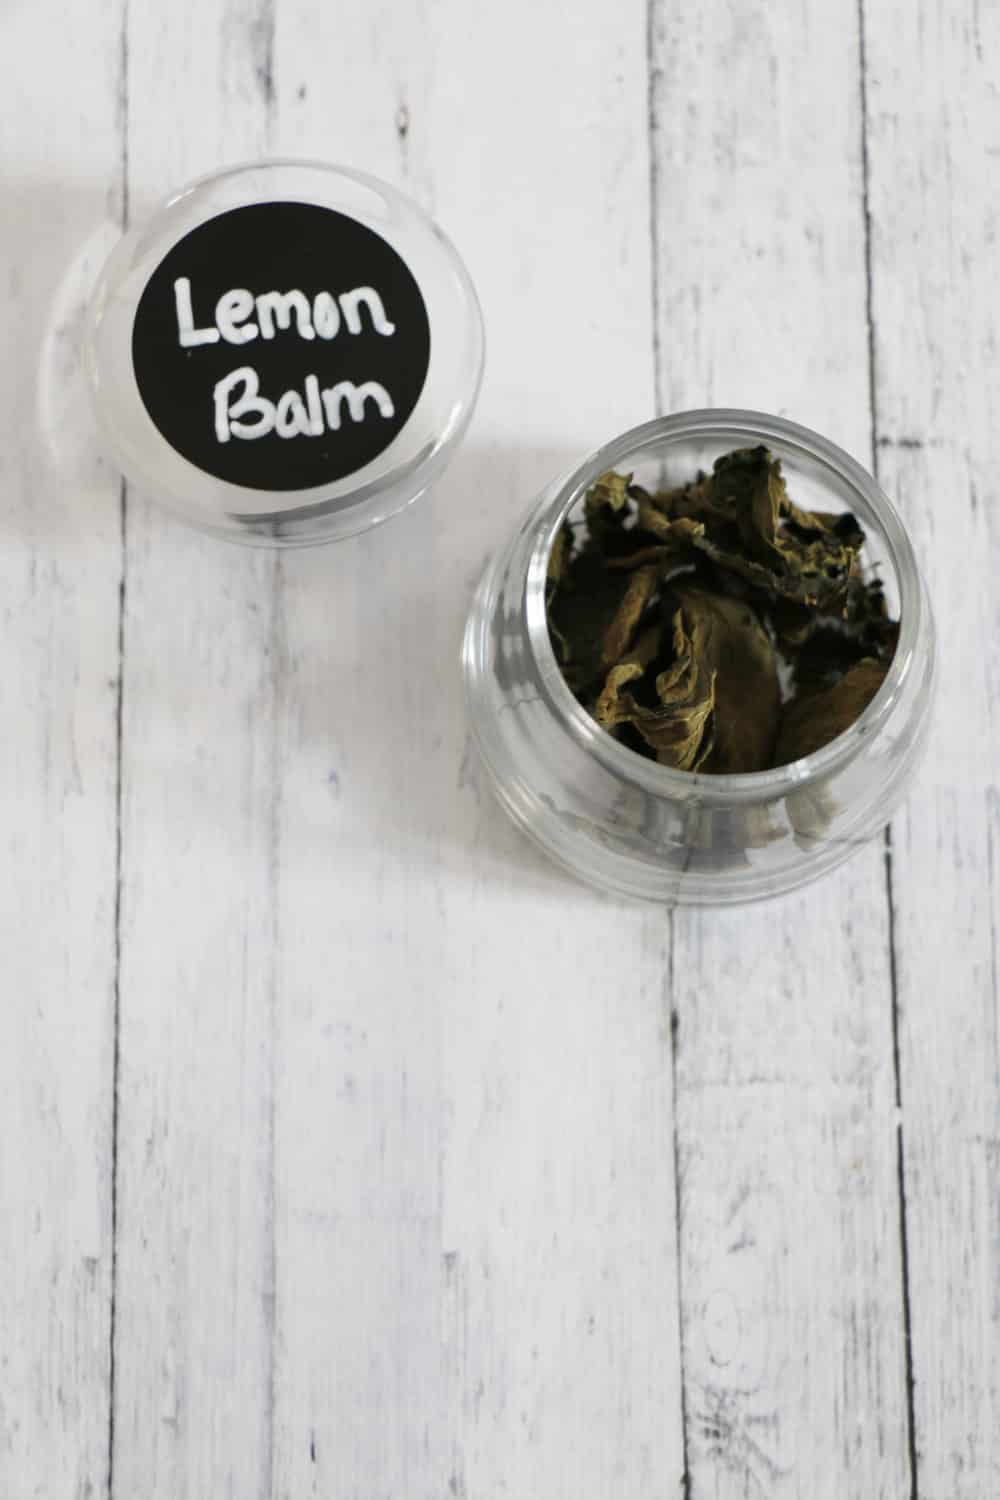
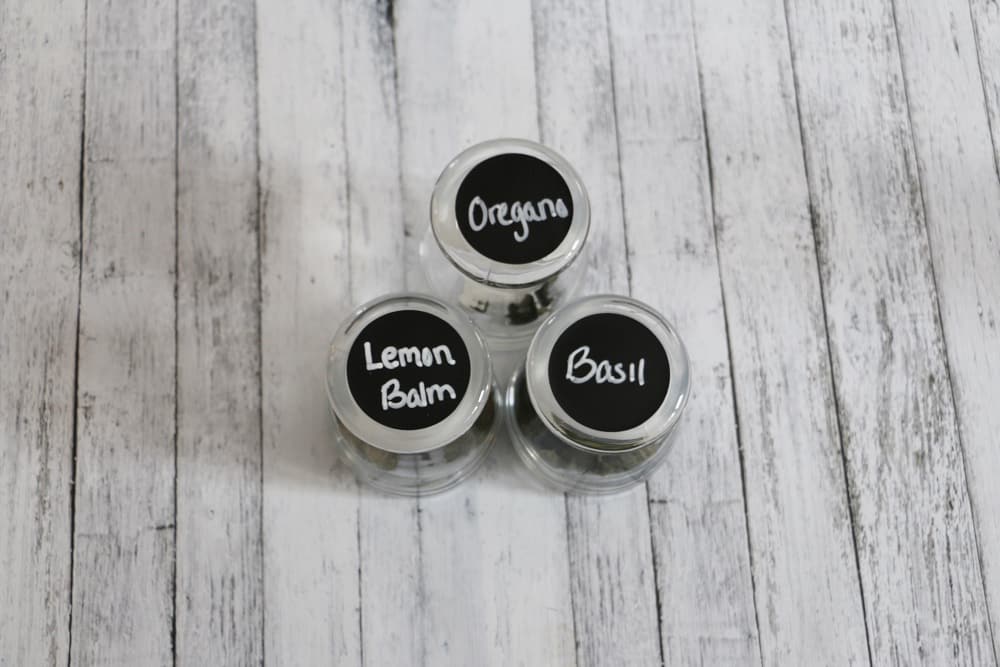
For containers, I used these jars along with these labels to store our herbs. The chalkboard pen will make it super easy if we need to switch the herbs in the jar without wasting the label. (It just comes off with Windex!) However, there are plenty of options when it comes to storing your freshly dried herbs. Glass jars, metal containers, or even paper bags that are taped/sealed shut work just fine.
Dried herbs are best used within a year and stay fresh longer if they are whole until you need them and then crumbled. Also, dried herbs are much more potent than fresh herbs so use about 1/4 to 1/3 the amount when substituting dried herbs for fresh herbs in a recipe.
do you dry your own herbs?
what are your favorites?


